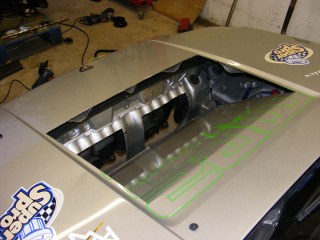
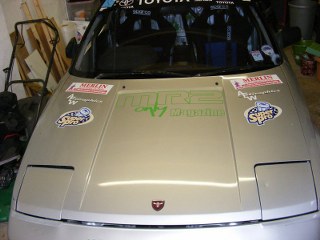
 This car competes in the Toyota Sprint Series and was also to be used on trackdays. It is powered by an uprated 3SGTE 2l turbocharged engine and produces approximately 3x the power of the original engine! One of the limitations of using such a car on trackdays is the cooling system, it is unlikely to be able to cope for more than a few laps before overheating, modifications are required…..
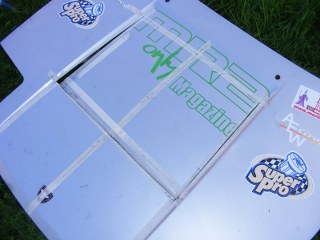 After measuring up to provide the optimal bonnet vent dimensions for the radiator, cuts were made in the bonnet….
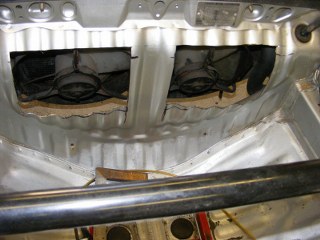 I had previously relocated the battery to the front of the car. The battery does not interfere with the bonnet vent. The area was marked up in the front bulkead and the holes were cut behind the two fans radiators….
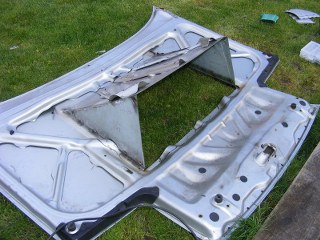 The side panels fitted to the vent. There’s a large area to get a lot of flow from the rear of the rafiator.
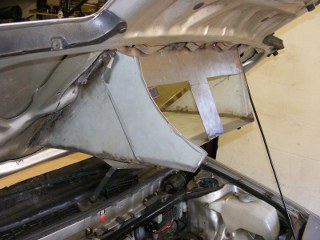 The vent in the bonnet must meet mate with the car without any air gaps to make full use. In order to do this the assembly on the car was tacked welded in place with the components attached to the bonnet vent with magnetic clamps. In order to make the sides mate properly it was tapered to provide a V-shape.
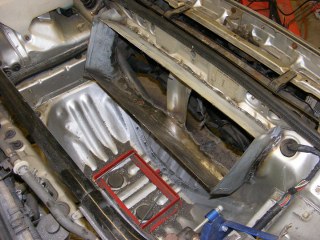 The receiving duct is a very awkward shape. It was tack welded in place with the bonnet shut in order to make sure the fit is perfect. Once tack welded, the bonnet was opened and full seam welds were made around the periphery.
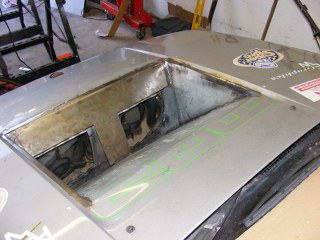 The front plate was welded to the vent to match the holes cut in the front bulkhead.
The finished vent painted. In order to make full use of the vent the radiator needs reangling and ducting into the vent to prevent bypass.


